
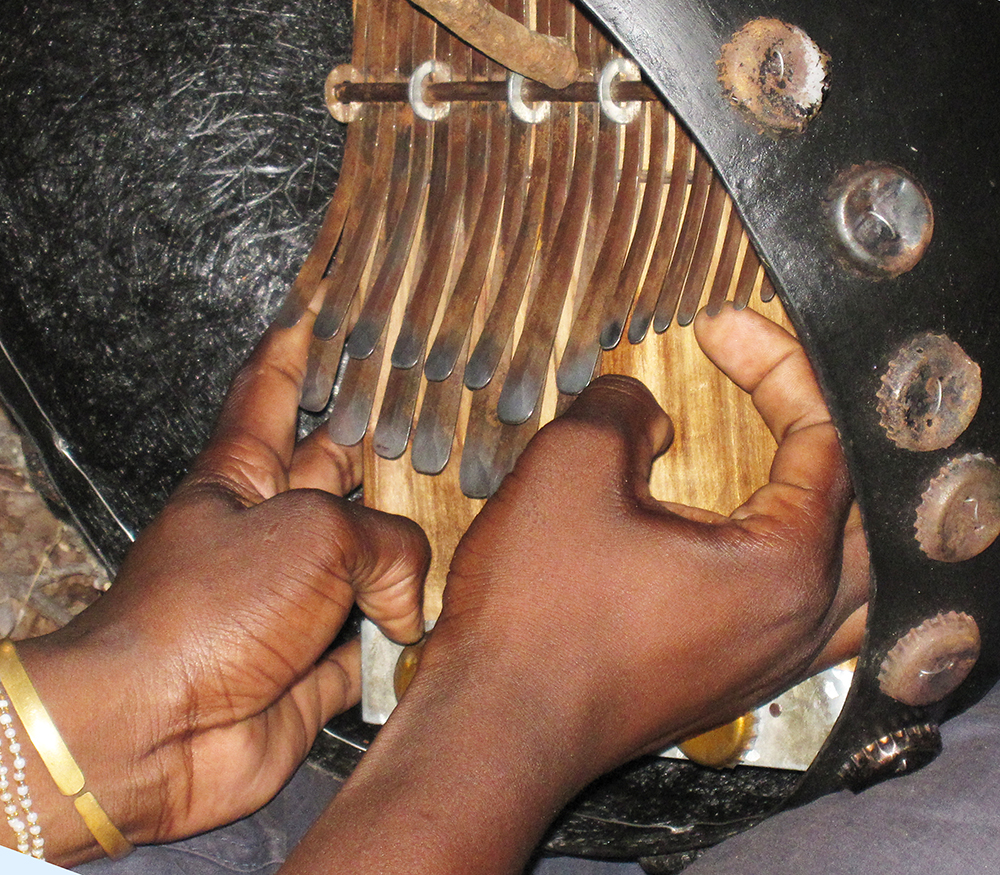
Holding the mbira
Get comfortable. You need to hold the mbira so that the wood board is approximately vertical. This is important both to avoid having your lap swallow all the sound coming out the back of the instrument, and so that gravity will hold the mbira up for you, saving you from wrist injuries.
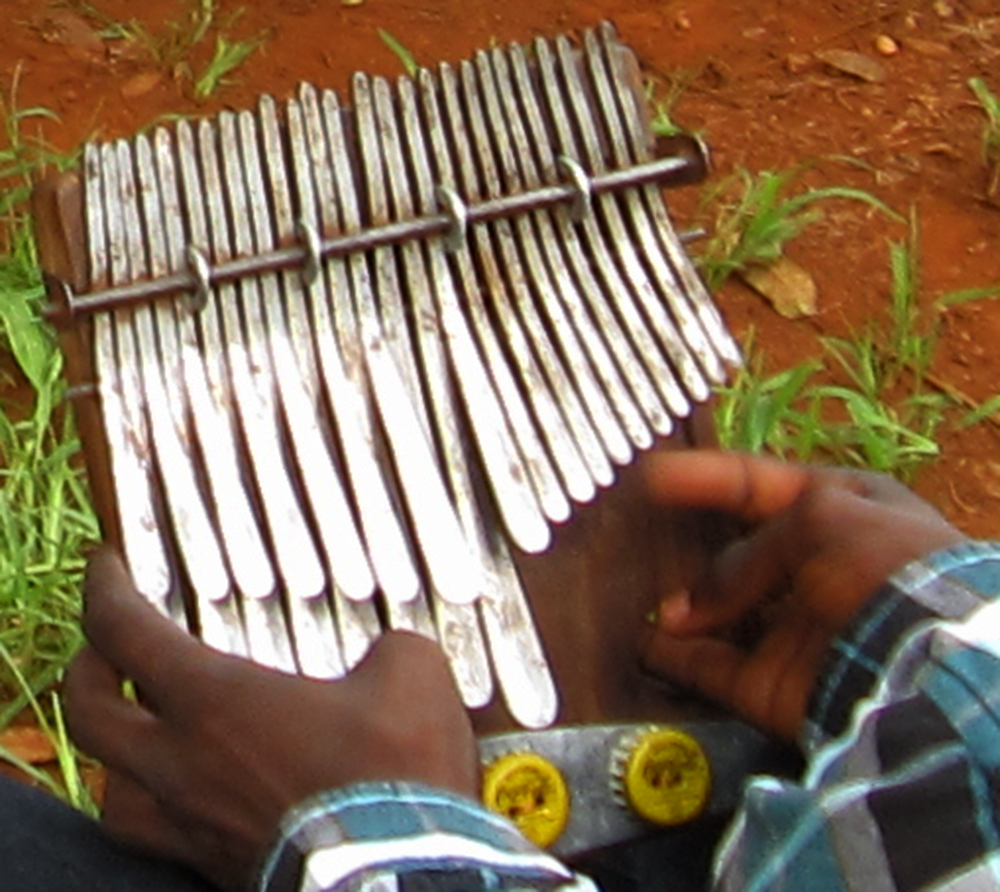
Keep your hands as far out in front of the mbira as you can, for greater flexibility. The fingertips of your left hand (NOT the palm) should be on the left side of the board, and your left pinkie may or may not go under the bottom of the board.
Turn your right hand palm facing up. Put either your right pinkie or 4th finger (with the pinkie resting to the left of it) through the hole, from front (near you) to back (away from you). Your right middle finger goes around the right side of the board (and your 4th finger, if the pinkie is in the hole). Move your hands around until you find a comfortable position. Avoid positions which bend back your right wrist, if you can. If you buy an mbira, get one which is a comfortable size for your hands.

Playing the mbira
Grow out your nails on the 3 mbira playing thumbs/finger – you want to touch each key with both your nail and about 1 cm (0.4 inch) of your thumb/finger. Your left thumb plays all of the double row of keys. Your right thumb plays ONLY the farthest left (longest) 3 keys in the single row. Your right index finger plucks up on the rest of the keys in the single row. Develop good habits of playing keys with the correct thumb/finger. If your thumbs/finger get sore, we sell picks for mbira playing on this website.
No starting place in the music!
Mbira music is truly circular – there is no beginning or end of any mbira piece. An mbira piece is like a cosmic carousel – it is going on forever, around and around, and you can hop on and join it at any time, and hop off at any time. The piece may be played for 3 minutes, 30 minutes, an hour, or more. However, when you play with someone else, you must both be in the same place in the cycle, so the kushaura (starting) and kutsinhira (intertwining) parts interlock correctly.
Phrases?
There are no phrases in mbira music – though some mbira pieces easily divide into 4 phrases. Use phrases as a learning tool only, and don’t expect most Zimbabwean musicians to teach you in phrases, as they listen to the whole cycle.
How to hear what you play in a Shona way
After you learn an mbira piece, you need to unlearn the prejudices of a non-Shona cultural background and linear learning method, so that you stop hearing a beginning point of the piece (there are none, or many, depending on how you look at a circle).
- Play what you know until you can play it with your eyes closed.
- Learn to play the piece starting of each note of the entire cycle. Sing or hum along with a simple melody you hear the mbira playing, which starts at each starting place. Keep playing and singing each starting place for an hour, a day, or a week – until you really hear the piece from that point. Then change to a new starting place. You can use Shona vocables, and sound like a real Shona mbira singer. This is much more difficult than learning to play more notes, so be patient with yourself. Try working on it with a friend, with one playing and one singing. This exercise is frustrating at first because it’s so difficult, but when you start succeeding at it, it’s very exciting – because one piece can sound like many different pieces even though your fingers are doing the same thing.
- When you learn variations, repeat these steps for each variation.
- Learning to hear in this way is the key to improvising well on mbira.
- Listen to many recordings of the piece you are learning, to compensate for not having grown up hearing it, until you find yourself humming it as you walk down the street. Listen to Mbira Piece Intensives (collections of recordings of one piece) on the way to work/school, when going to sleep, etc.
Octave relationships
Memorize the octave relationships on your mbira. Most mbira improvisation includes octave doubling or octave substitution. This is a big shortcut in learning mbira.
Play hard
Play the mbira keys as hard as you can. This will build up your strength, bring out the full tone of the instrument, and break in a new instrument. Remember, mbira is not played with the fingernails alone – check that you are touching enough of each key. And, remember, Thumb/finger picks can help if your fingers still get too sore.
Let it happen, learn at a relaxed pace
In Shona tradition, it is believed that every serious mbira player has a shave (pronounced shah-vey) spirit which gives them the talent to play. Take a deep breath and relax, don’t try too hard, let your thumbs move without thinking too much and let your shave help you.
Get mbira lessons – videos to download, online lessons, or in person